Insulating our bedrooms
Back in February, we insulated the two bedrooms in our end-of-terrace Victorian solid-walled house. This blog post attempts to document the process, including lots of photos. The detailed plans for this project (including some CO2 calculations and a complete shopping list) are described in a previous blog post. A quick re-cap of the plans:
- Our upstairs walls are not damp so we can just attach the insulation directly to the plastered wall, we didn’t bother with wooden battens.
- Use Fermacell instead of plasterboard. Fermacell is much stronger than plasterboard, so it should be possible to hang shelves directly from the Fermacell.
- 65mm insulation + 12.5mm Fermacell
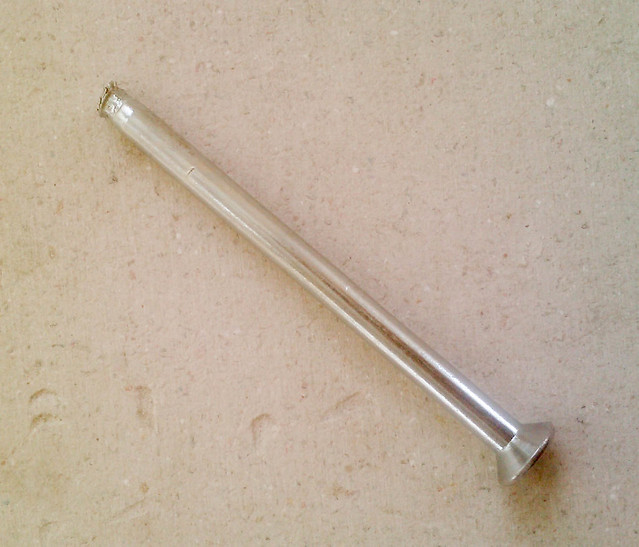
- Use 160mm “frame-fixing” screws to mechanically secure the Fermacell to the brick. These come with their own wall plugs. To use, just drill straight through the Fermacell + insulation + brick, then hammer the wall plugs into place and screw in the long screws (i.e. you don’t need to pre-drill the wall and then try to align holes in the insulation with holes in the wall).
In total it took about three weekends to install the insulation for both our bedrooms, MUCH less time than it took to insulate our living room. (This time does not include the time taken to plaster and decorate, which we had done by some excellent local decorators - I just installed the insulation & Fermacell.)
On to the details…
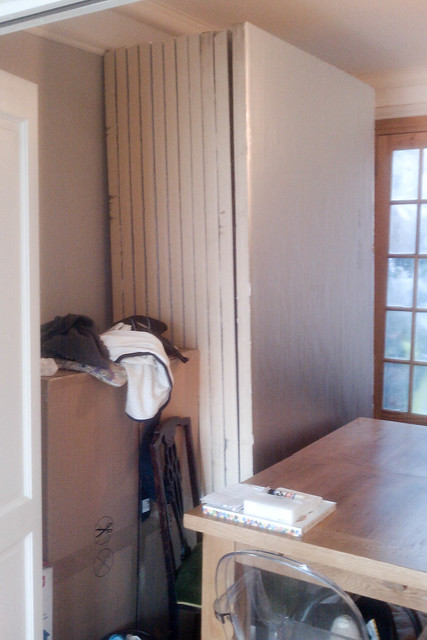
The insulation waiting to be installed:
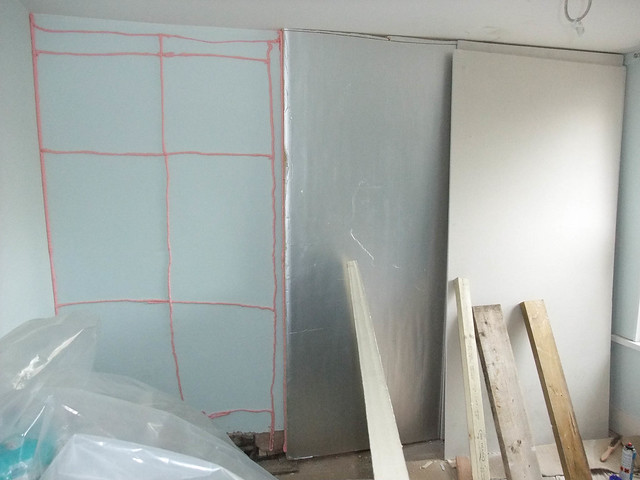
I tried two different permutations. In our daughter’s bedroom, I first attached the the 65mm celotex insulation to the wall (using expandable foam and long nails), then cut the Fermcell to size and secured the Fermcell to the brick using frame fixings.
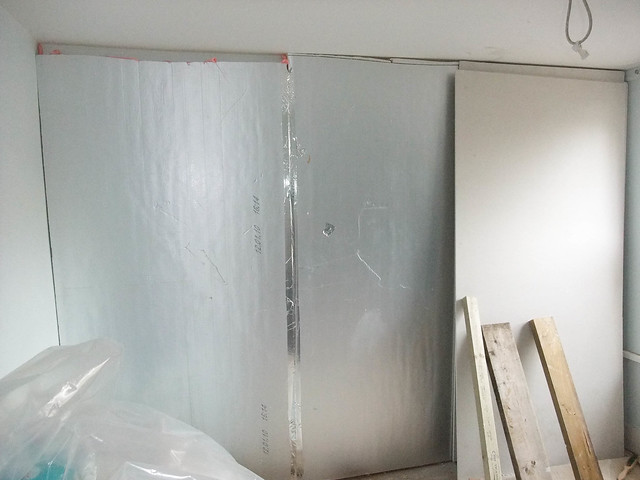
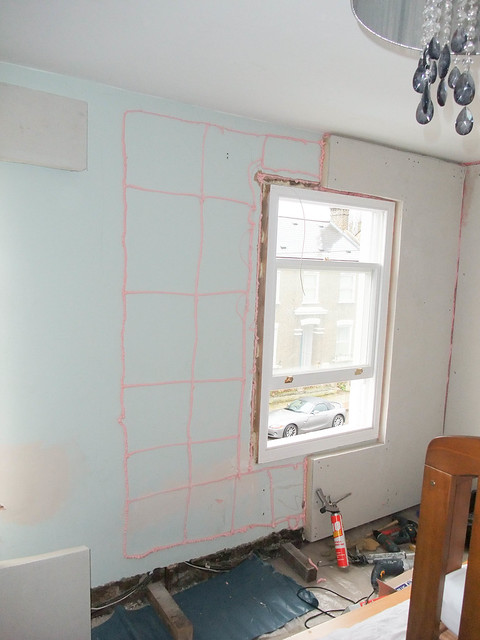
In the photo below, two sheets of insulation are attached (the far right sheet of insulation is behind the Fermacell sheet which is temporarily leaning against the insulation). I applied the expanding foam in a grid to try to minimise the chance of any air being able to convect in big loops behind the insulation.
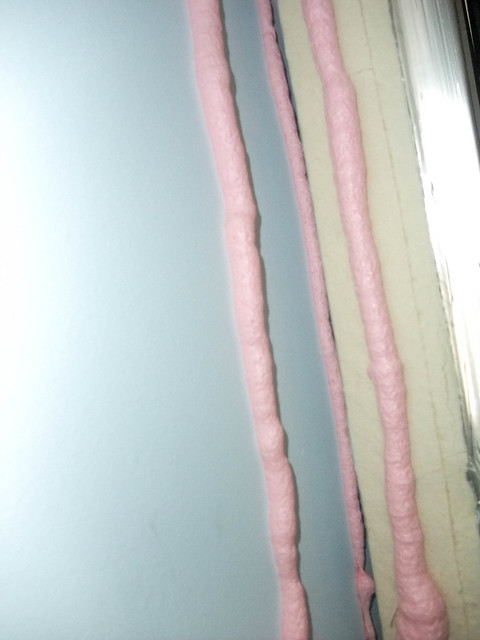
And I added some expandable foam to the edge of the insulation to the gaps between each insulation sheet is as airtight as possible:
Attaching the insulation before attaching the Fermacell gave me the opportunity to tape over the gaps in the insulation to create a vapour barrier. This probably isn’t necessary though:
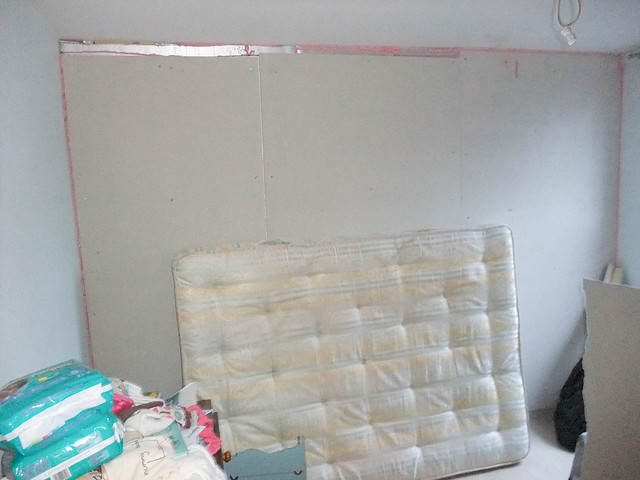
Here’s the insulation and Fermacell fully installed in our daughter’s room:
In our main bedroom, I tried a different method. I tried to make my own laminates of insulation and Fermacell by glueing the Fermacell to the insulation before cutting:
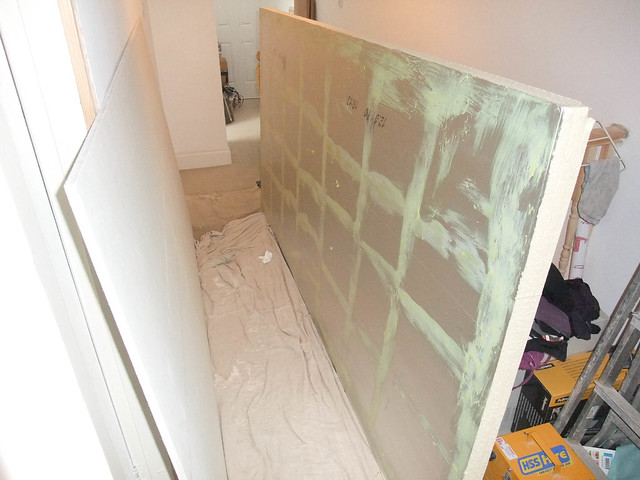
Here’s the glue applied to the insulation just before the Fermacell is about to be attached:
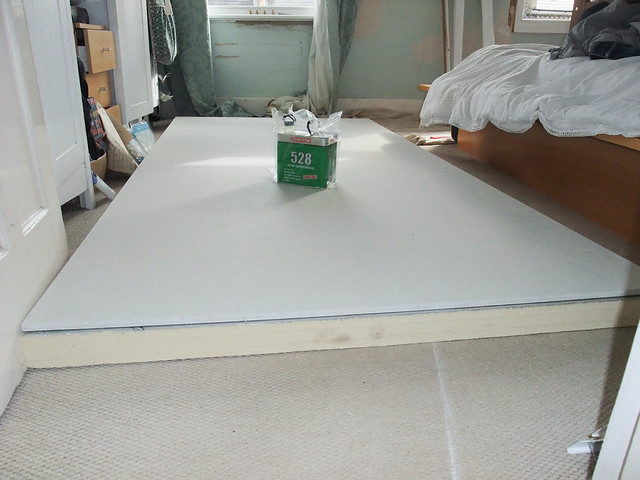
And here’s the laminate drying (I put three sandbags onto the laminate to make sure the Fermacell is pushed onto the insulation).
Attaching the insulation to the Fermcell prior to cutting has the advantage that you only have to cut and attach to the wall once. But it does take a while to glue the sheets. And you need a lot of glue! Oh, and the glue sinks out the house for a good day.
Just to emphasise: all the glue used in this project is just to temporarily hold components in place while I’m working. All the mechanical strength comes from the frame fixing screws.
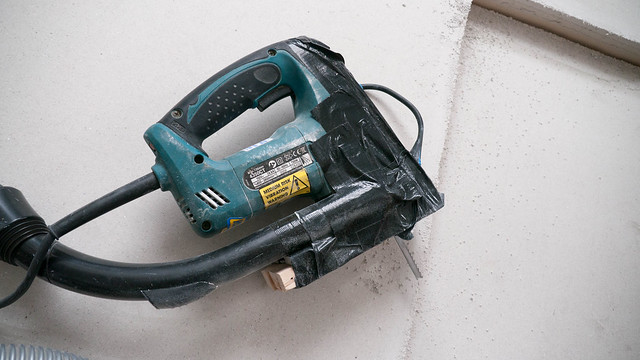
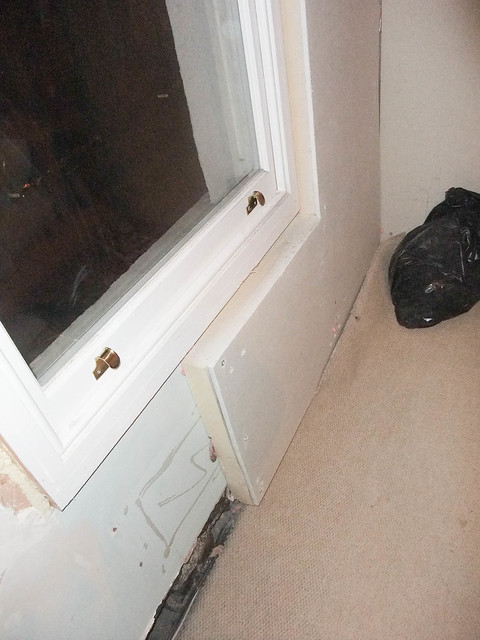
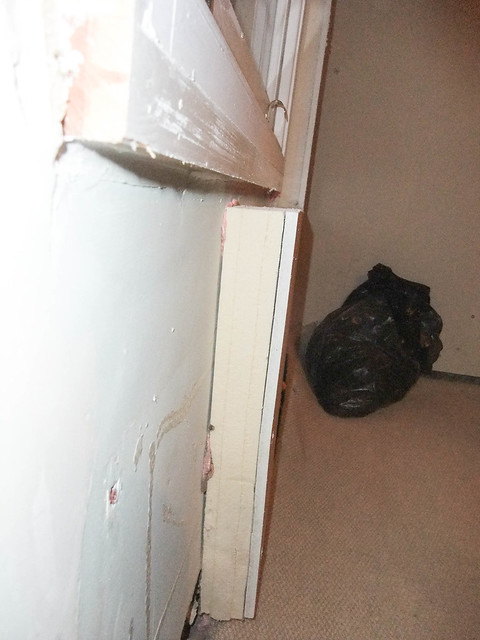
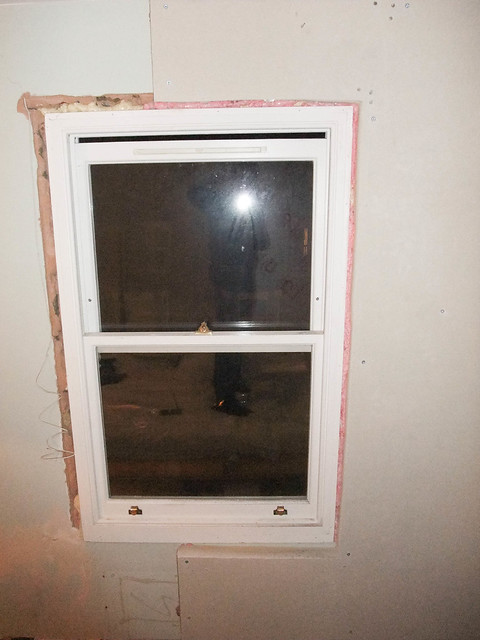
Fermacell is very tough stuff so I hired a jigsaw from HSS to help me cut the shapes for the windows:
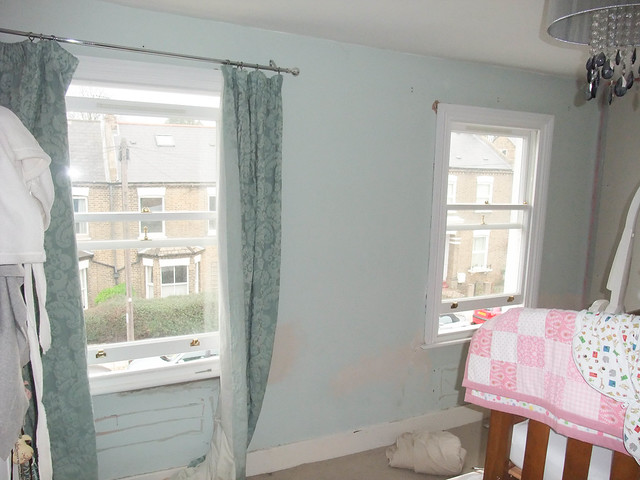
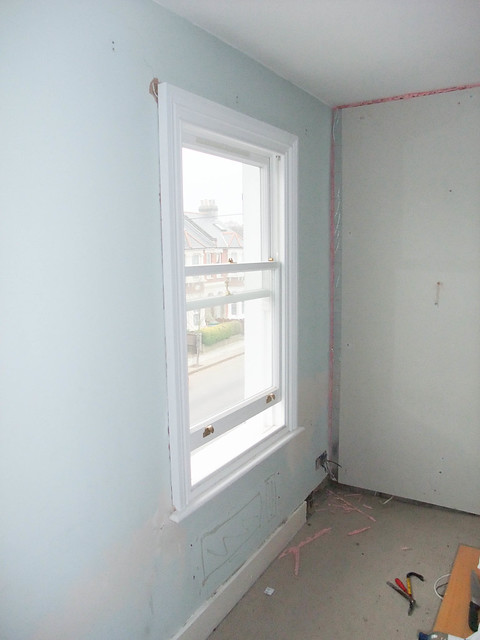
Here’s the “window wall” in our main bedroom (prior to insulation):
Woops, a frame fixing screw sheered while being screwed into place!
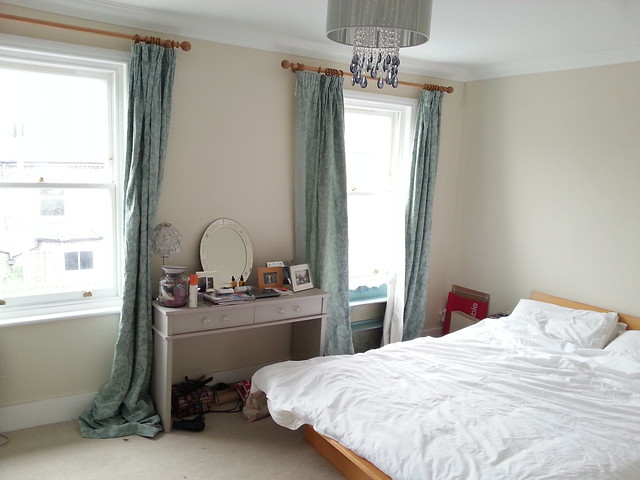
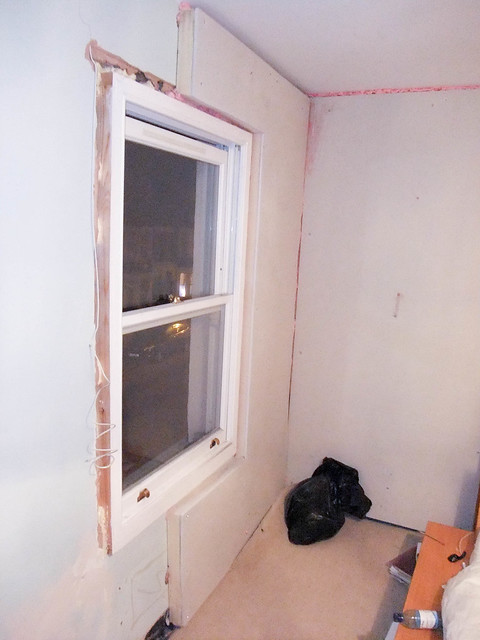
The finished product:
I used the special Fermacell “jointstick” sealant between the boards (which sets remarkably solid). We used a local plasterer to skim over the boards. It is possible to get a good finish completely DIY but our walls are so wobbly and my work so rubbish that we decided it would be best to get a professional skim finish!
Tips:
- 2.4 x 1.2m Fermcell sheets are very heavy. My wife and I really struggled to move the sheets upstairs. I just about managed to install the sheets myself but only by “walking” the sheets across small distances. If you’re going to install Fermcell yourself then it might be better to get 1200x600mm sheets.
- Our walls are terrible. Usually about one in every two holes I drilled was too crumbly to support a frame fixing. I got into the habit of pushing a thin wooden chopstick into the hole prior to hammering the wall plugs in. This seemed to slightly increase the chance of the wall plug “gripping”.
- Expandable foam very quickly loses its stickiness (maybe 10 minutes?) so you have to be very quick if you’re going to use expandable foam in the same way I did.
